Voice Cloning Tutorial: One Minute of Audio, Your Voice
Step-by-step voice cloning: what to record, how long, room requirements, tuning stability afterwards, consent rules, and designed voices as the alternative.
 VoiceSmiths Team
Listen to this article
AI narration · about 2 min
Ninety percent of a clone's quality comes from the sample, not the button. This walkthrough follows the order you actually work in: what to record, how long, how to check the result, and when you should design a voice instead of cloning one.
Step one: record the sample
- Length: one to three minutes is enough; past five the gains are tiny.
- Content: read something natural in the way you normally speak, not a news bulletin.
- Room: quiet, phone about 20 cm from your mouth, air conditioning and fans off.
- Avoid: background music, other people, echoey rooms.
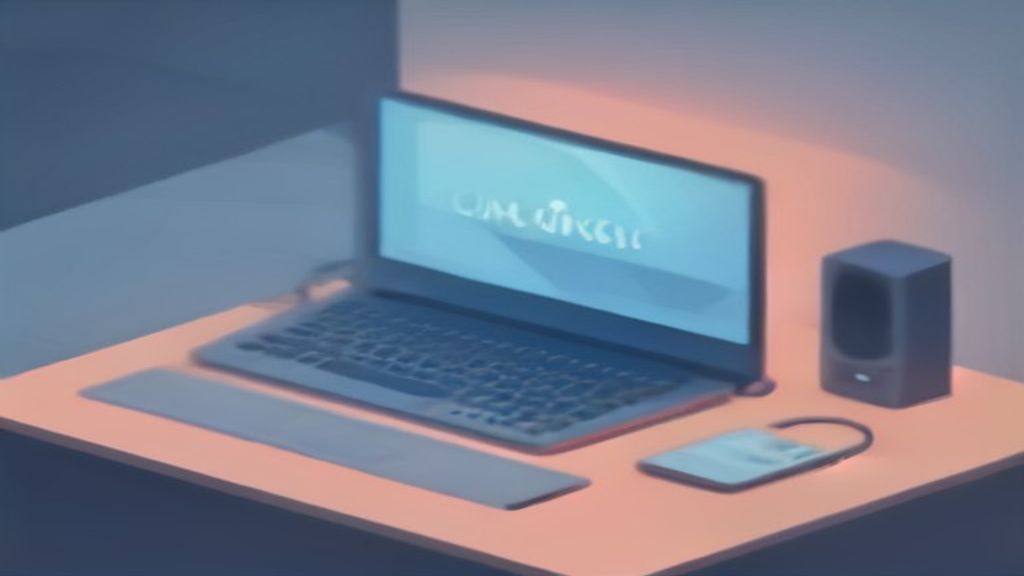
Step two: upload and name it
Upload on the voice cloning page and give the voice a name you will recognise. Cloning usually finishes within a minute.
Step three: check it
Test three kinds of text: a plain statement, an emotional line of dialogue, and a sentence with numbers and brand names. Listen for three things: does it sound like you, is there any hiss, does it drop words in long sentences.
Step four: tune
- Stability too high sounds robotic, too low gets erratic; start at 0.5.
- Similarity above 0.8 sounds more like you but also amplifies flaws in the sample.
- Emotion comes from tags, not sliders — see the emotion tags cheatsheet.
When not to clone
If what you need is "a professional voice" rather than "my voice", design one: a sentence of description produces a person who does not exist, with no consent questions attached.
The consent line
Clone only your own voice or one you have written permission for. Celebrities, colleagues and family recordings are all off limits; details in the voice cloning consent guide.
A finished clone works directly in text to speech, audiobooks and video dubbing.